Visitor Counting Technology for Moorland Paths: A Checklist for Land Managers
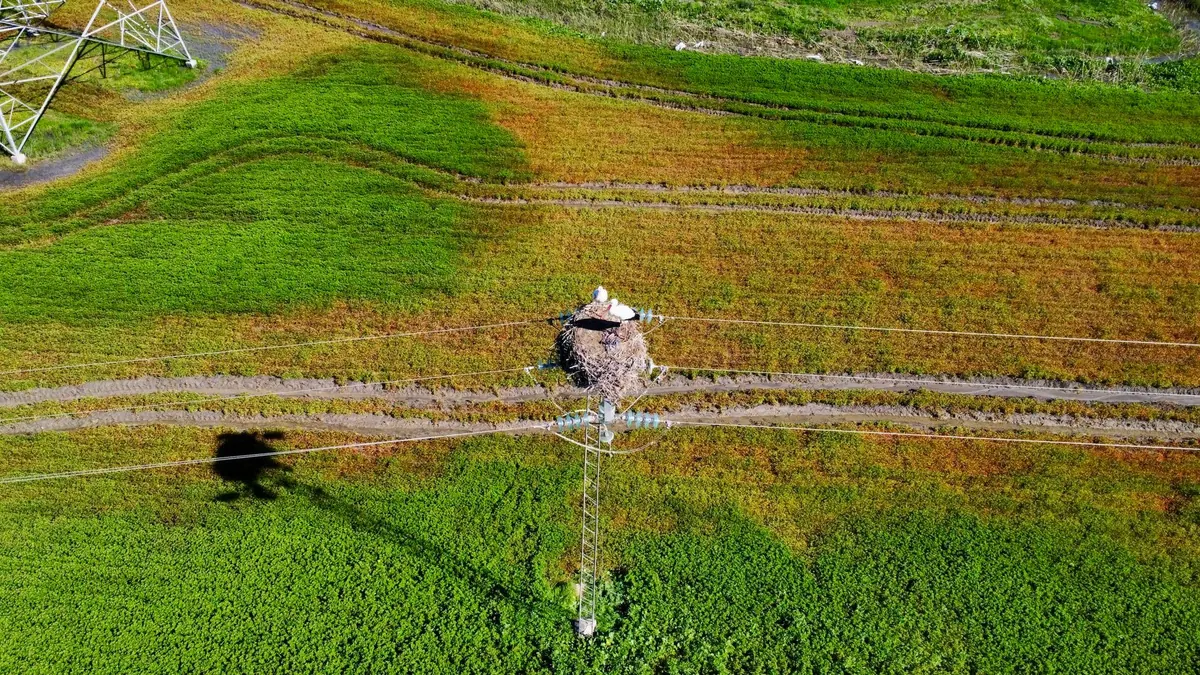
Erosion on a moorland path rarely announces itself. A braided line of bare peat widens through a wet winter, heather gets trampled at a stile, and by the following spring the damage shows clearly in an aerial photograph but not at all from the car park. Knowing how many people walk a route, when they come, and where they linger turns guesswork into scheduling. It is often the difference between a repair that holds and one that washes out again. What follows is a practical order of work for choosing sensors, siting them properly, and keeping the data worth having.
Start With the Decision, Not the Device
Before anyone opens a catalogue, write down the decision the numbers are meant to inform. "We need visitor figures" is too vague to guide a purchase. Useful versions look like this: should the path be realigned before next winter, or hardened in place? Does the second car park need to open at Easter or at Whitsun? Is a seasonal closure on the sensitive blanket bog actually being respected?
Then match the measurement to the question. Total footfall answers capacity questions. Direction of travel tells you whether people are walking a loop or turning back at a broken boardwalk. Timing through the day shows whether the pressure is a short morning peak or an all-day trickle. Dwell time at a viewpoint or summit reveals where people stop, spread out, and start new desire lines through fragile ground. Each of those needs different equipment, and none of it needs a device that measures all four badly.
Know What Each Technology Can and Cannot Do
Most moorland monitoring uses a mix of three approaches. None of them is a complete picture on its own.
Fixed counters
- Passive infrared counters: detect a change in heat as someone passes. Cheap, discreet, and long-running on a small battery, but they struggle with groups walking shoulder to shoulder and can be fooled by warm surfaces or strong low sun.
- Active infrared beams: a transmitter and receiver face each other across the path, and a break in the beam registers a count. Accurate for single-file traffic, but bracken, heather and even tall grass will interrupt the beam if the gap between posts is too tight.
- Pressure pads and buried sensors: invisible from the path and useful on flagged routes where you want no visual intrusion. They are, however, a poor fit for deep peat or loose grit, and livestock or deer will add counts you cannot filter out.
Imaging and thermal cameras
Thermal cameras record the heat signature of passing people, which gives you direction, speed and a much better chance of separating two walkers from one. Some models can be set to log counts only, without keeping images. They draw more power than a simple counter, so plan for a larger battery or a small solar panel, and expect a higher unit cost. Where you need to understand behaviour at a specific pinch point rather than total numbers across a whole estate, a single well-placed thermal unit often beats five counters.
Trail apps and GPS data
Aggregated route data from walking and fitness apps is free or inexpensive and covers ground no ground-based kit can reach. Treat it as a proportion, not a headcount: it over-represents fit, tech-using, younger visitors and under-represents school groups, dog walkers and anyone who leaves their phone in a pocket. It is excellent for comparing one path against another, and unreliable for saying how many pairs of boots crossed a stile on Saturday.
Site Survey Checklist Before You Buy
Walk the route twice, once in the wettest conditions you can manage and once on a busy weekend. Then work through the following.
- Mark the two or three points where erosion is visibly advancing, and note whether they are pinch points, junctions or open spreads.
- Check mobile signal at each candidate site, and decide whether you will download data on site or remotely.
- Measure vegetation height and note how fast it grows. A beam that works in March may be blocked by June.
- Record what else moves through: sheep, cattle, deer, horses, dogs, mountain bikes.
- Confirm who owns the land, who holds the access rights, and whether any designation, such as a scheduled monument, covers the ground you want to dig into.
- Work out how you will reach the unit for servicing, and how often you are realistically prepared to do it.
- Decide how the data will be stored, who will read it, and how it will be reported upwards.
Installation and the First Month
Mount sensors facing away from the rising and setting sun where you can, and keep them clear of warm stone, tarmac or metal that will confuse a heat-based unit. Record the installation height, orientation, date and firmware version in a simple log. Without that, a reading from this autumn cannot be compared honestly with one from three years ago.
For the first month, pair the counter with a person. Spend an hour at the site with a clicker at different times of day and in different weather, then compare. You will usually find the device under-counts groups and over-counts at dawn. That ratio, applied consistently, matters far more than the raw number.
Privacy, Permissions and Practical Ethics
Anonymous counts are one thing; images of identifiable people are another, and rules on how long you may keep them and what you must tell the public vary by country and by organisation. Put up clear signage, keep recording periods short, and delete images you do not need. If you are unsure where your obligations lie, take advice from your access authority or a data protection professional before the first camera goes up. Consult the national park or access body early as well: they often have preferred mounting methods and will know about archaeological sensitivities that a map will not show.
From Numbers to Management Actions
Agree trigger levels in advance with your ranger, ecologist and path team, so that a rising count leads to a named action rather than another meeting. A workable trigger might be a set weekly footfall combined with the first sign of the path edge breaking through the vegetation. Fixed-point photographs taken quarterly from the same spot, plus a simple transect across the eroded area, give the physical evidence that sits alongside the counter data.
Use the results in funding bids. A clean line of monthly figures showing a summer peak on an eroding route is far more persuasive than an estimate, and direction data will show whether a new diversion is genuinely taking pressure off the original line. Be honest about gaps: a counter down for six weeks in the middle of August is a known hole, not a reason to abandon the record.
Keeping the System Running
Name one person who owns the kit and one deputy. Put battery changes, downloads and a quick visual check in the calendar before the season starts, not after something fails. Budget for replacement every few years, because moorland weather is hard on seals, cables and housings, and add a spare unit so a single failure does not end the dataset.
Start small, with two counters on one path and one season of careful records. Once the routine is embedded, extend it. Good monitoring on a moor is rarely about the cleverest device; it is about consistent, well-documented counts on the ground where the peat is actually moving.
Photo: Maël BALLAND / Pexels