How to Set Up a Low-Cost LoRaWAN Sensor Network for Remote Moorland Peat Depth Monitoring
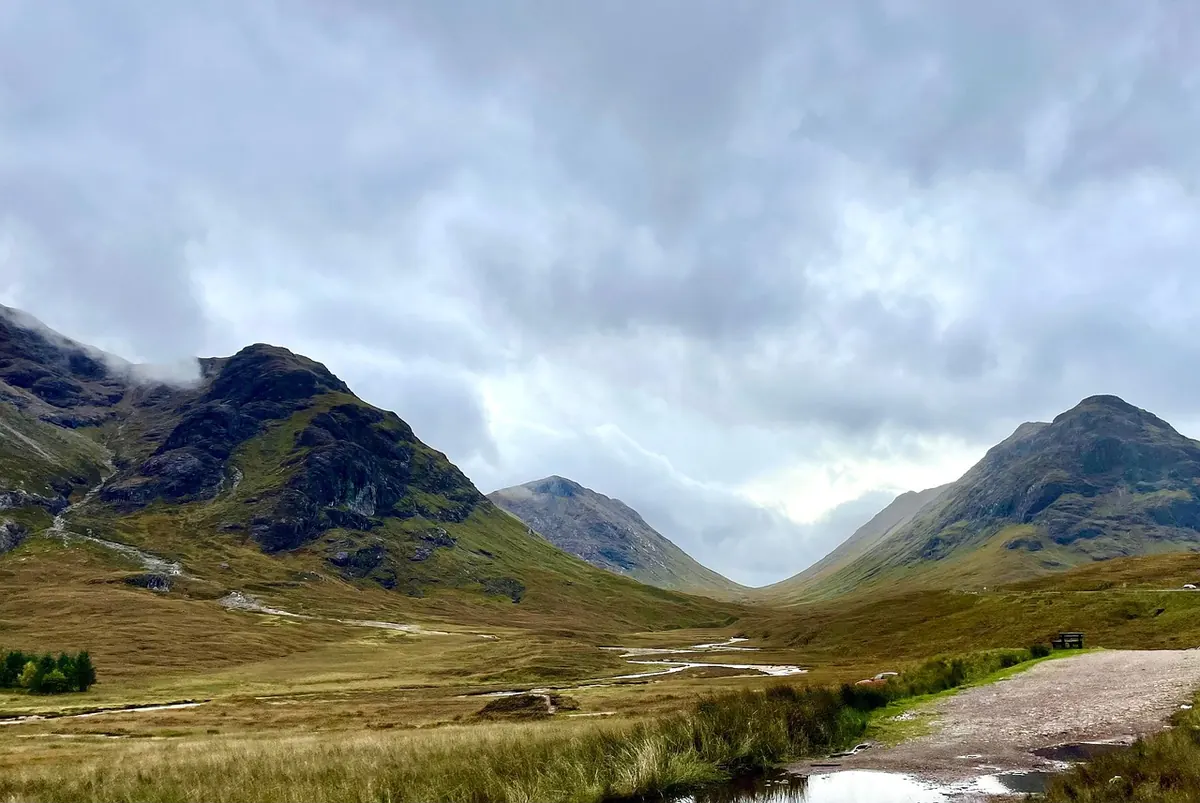
A blanket bog looks monotonous from the ridge: a brown-green plain that seems to change only with the weather. Step into it and the picture breaks up. Hummocks sit a foot above the hollows beside them. One pool holds water while its neighbour has drawn down. The peat under a heather clump runs several degrees warmer than the peat under bare Sphagnum. LoRaWAN is a good fit for watching that variation, because it sends small packets a long way on very little power, and neither of those things is in generous supply on a wet upland site. Here is how to build the network in an order that saves you a second trip.
Know what your sensors can actually measure
Peat depth is the number everyone asks for, and it is the one you cannot monitor continuously with affordable kit. Depth comes from rodding: pushing a graduated rod or auger down to the mineral substrate at points along a transect. That gives you a baseline, and repeating it annually gives you change over time. What a sensor network adds is the stuff between those visits.
What you can log continuously, cheaply and reliably:
- Soil temperature at two or three depths, ideally 5 cm, 15 cm and 30 cm. This is the easiest and most trustworthy measurement in the whole build.
- Volumetric moisture content in the top 20 cm, which tells you when the acrotelm is drying and how quickly it recovers after rain.
- Surface height change relative to a datum anchored in the mineral substrate below the peat. A draw-wire displacement sensor or a sliding collar on a fixed rod will track swelling, shrinkage and frost heave.
- Context: air temperature, humidity, rainfall and battery voltage, so you can explain the data later.
A kit list that survives a moor
Build around a LoRaWAN node with 1-Wire and analogue inputs. Boards based on the STM32WL chip and modular systems such as WisBlock or Dragino nodes are well documented and easy to reconfigure, and they cost little enough that losing one to a curious pony is annoying rather than catastrophic.
- Waterproof DS18B20 probes in stainless sheaths for temperature. Cheap, accurate enough, and happy in wet peat.
- Capacitive or TDR moisture probes with a published calibration procedure. The very cheap capacitive boards drift and read inconsistently in organic soil.
- A draw-wire potentiometer or linear displacement sensor for surface movement, plus a stainless reference rod long enough to reach the substrate.
- Lithium iron phosphate cells with a small panel, or lithium thionyl chloride primary cells for a genuinely unattended multi-year run.
- IP67 enclosures, downward-facing cable glands, buried conduit, stainless fixings. Peat is acidic and eats mild steel.
- An eight-channel LoRaWAN gateway sited on high ground, with 4G backhaul. Avoid single-channel packet forwarders; they work in the car park and fail in the field.
Power, weather and teeth
Peat temperature and moisture move slowly, so sample every fifteen to thirty minutes and let the node sleep in between. A short payload at a moderate spreading factor leaves plenty of headroom in the European duty cycle limits, and it means a modest battery lasts through the winter.
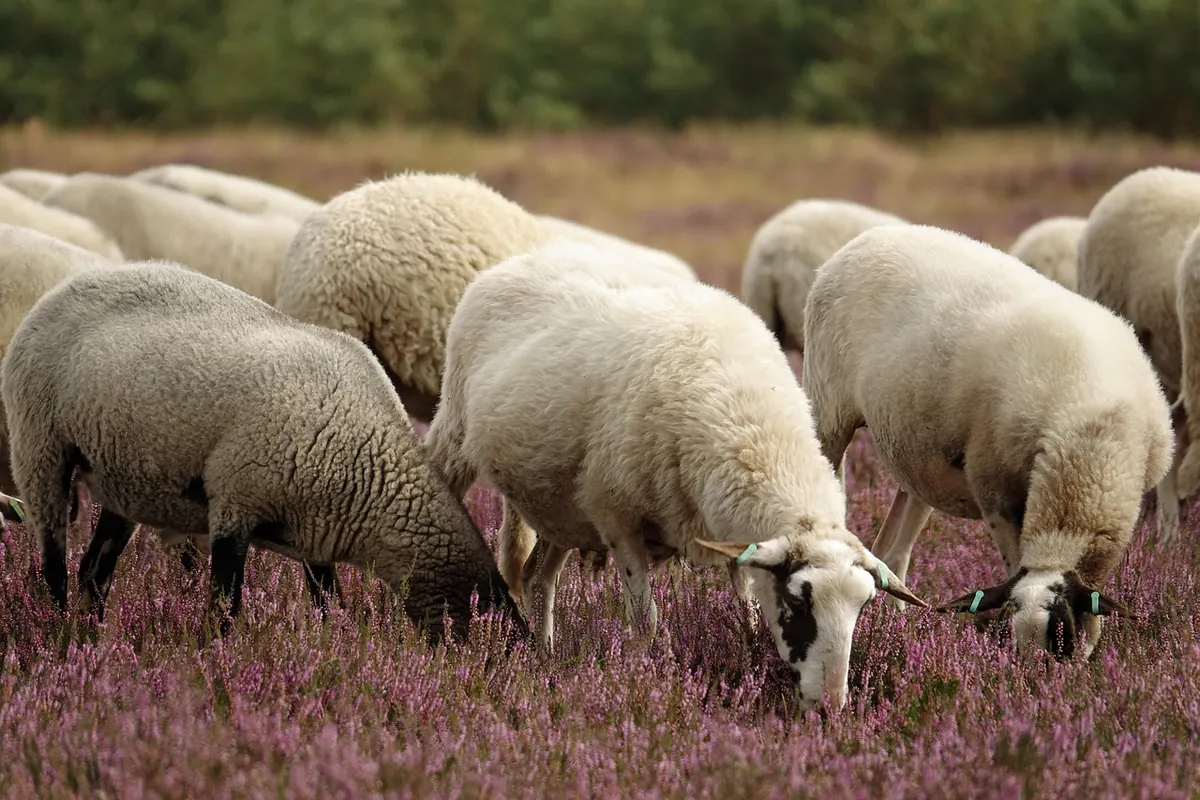
Design for the worst month, not the best. Cold cuts the usable capacity of most lithium chemistries, so check the discharge rating across the temperature range you expect. A panel that charges handsomely in June may contribute almost nothing in December, so size it generously and consider primary cells as a fallback. Wind-driven rain finds every gland that points upward. Sheep will rub on anything waist-high, deer will knock over anything loose, and frost heave will lift a shallow enclosure out of the ground over a single winter.
Gateway siting and radio settings
A gateway on a clear ridge will hear nodes several kilometres away over low vegetation. The same gateway will lose them in a gully or behind a conifer block. Before you commit to node positions, take one node on a walk test, watch the signal-to-noise ratio on the network server, and place your monitoring points where the link is genuinely robust rather than marginal.
Use a self-hosted ChirpStack instance or a community The Things Stack deployment as the network server, decode the payload there, and store the raw bytes as well as the decoded values. Handheld configuration apps vary, so write down the device EUI, app key and spreading factor for every node. If you fix the spreading factor manually instead of relying on adaptive data rate, airtime becomes predictable and debugging becomes far easier.
Installation and calibration
- Rod the peat depth at every planned point first, taking several soundings within a metre and noting what the rod hits at the base.
- Drive the reference rod into the mineral substrate and record how much of it sits above the surface. That figure is your datum.
- Insert the moisture and temperature probes at measured depths, backfill with the peat you lifted, and tamp gently to close air gaps without compacting the profile.
- Run cables inside conduit, strain-relieve them at the enclosure, and leave a drip loop below every gland.
- Record GPS coordinates, install date, probe depths, serial numbers and photographs of each station.
- Leave the system running for a fortnight before you trust it, and check that every node reports on schedule and that battery voltages are trending sensibly.
Calibration deserves its own visit. Moisture probes calibrated for mineral soil read high in peat, because the bulk density and organic content are so different. Take a few gravimetric samples, dry them, and fit a local correction rather than accepting the factory curve. Temperature-compensate the displacement sensor too, or a cold snap will look like a change in surface height.
Permissions, access and site care
Upland peat is often designated habitat. Speak to the landowner or estate first, and if the site carries a conservation designation, ask the relevant nature conservation body before you drill or drive anything into the ground. Keep footfall on the same line on every visit, avoid digging into pool edges, and remove every piece of packaging you carry in. You are monitoring a fragile surface, so treat installation as a disturbance budget you have to spend carefully.
Start with three nodes, then scale
Prove the whole chain before you buy twenty sensors: one gateway, three nodes, a fortnight of clean data, and one calibration round. Once uplinks arrive reliably and the numbers make physical sense, adding nodes is straightforward. Keep a simple log of every station, revisit twice a year to re-rod and check fixings, and the network will quietly build the record that a single site visit never can.
Photo: ABeijeman / Pixabay